There’s Got to be a Way
Two years ago, my doctor diagnosed carpal tunnel syndrome. Pretty depressing to hear those three words. But an EMG test ruled out carpal tunnel.
With that good news, I kept riding. But I had to change something to lessen the pain. I thought what I needed was getting the weight off my hands.
Cheapest Option, First
I first tried bar ends (below).
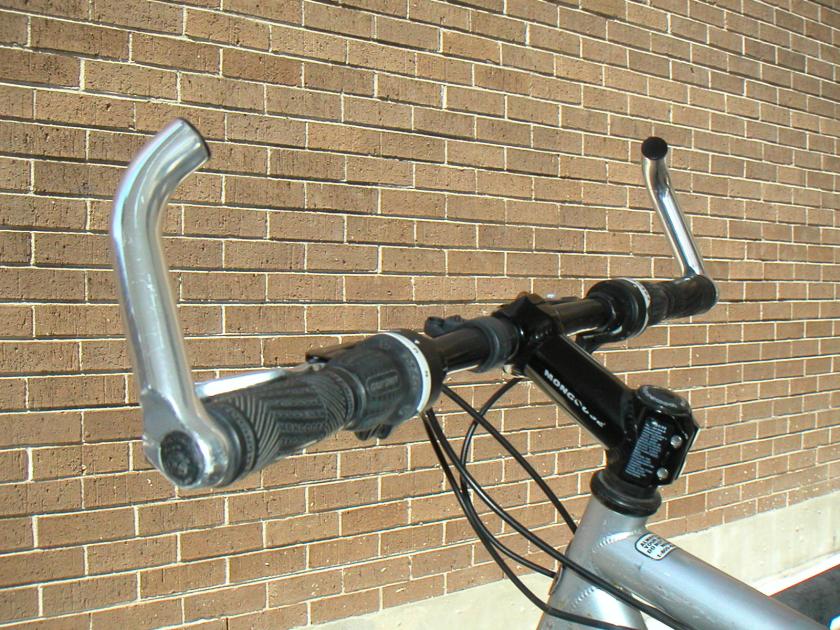
This was the cheapest option. Bar ends gave me three hand positions, with one far above the handlebars; gripping the little curved “horn” at the top is like riding a chopper motorcycle, taking all my body weight off of my hands.
This was when the pain got really bad. Even with little body weight on my hands, riding with my hands at shoulder height placed the weight of my dangling arms squarely onto my wrists. The pain got so serious, I had to take time off of work.
More — and More-natural — Hand Positions
I tried drop bars. Drop bars offer three hand positions. And two of those put your grip in a more natural attitude: rather than palms-down–the position that really strained my wrists–the “hoods” and the drops place your hands in neutral, like when dangling at your sides or shaking hands. But, sadly, riding on the hoods or the drops presses body weight onto the hands.
My brother, who races cyclocross, suggested a way of keeping the neutral hand position while keeping body weight off: he said to get my hands not up , but back.
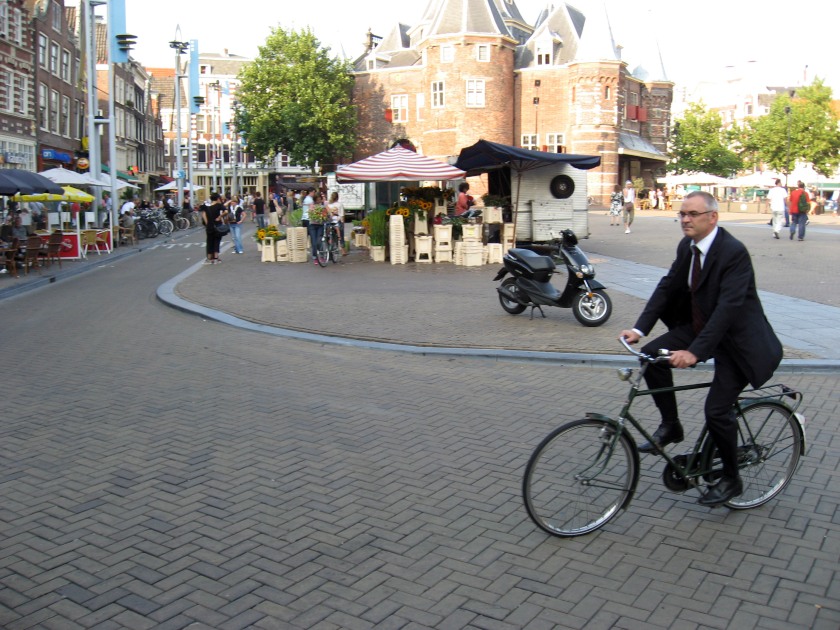
Picture the suave European bicycle commuter, riding completely upright, with hands back and low (below). That’s the combination for ultimate comfort.
The only drawback: it’s so un-sporty.
Swept Back, Low . . . and Sporty!
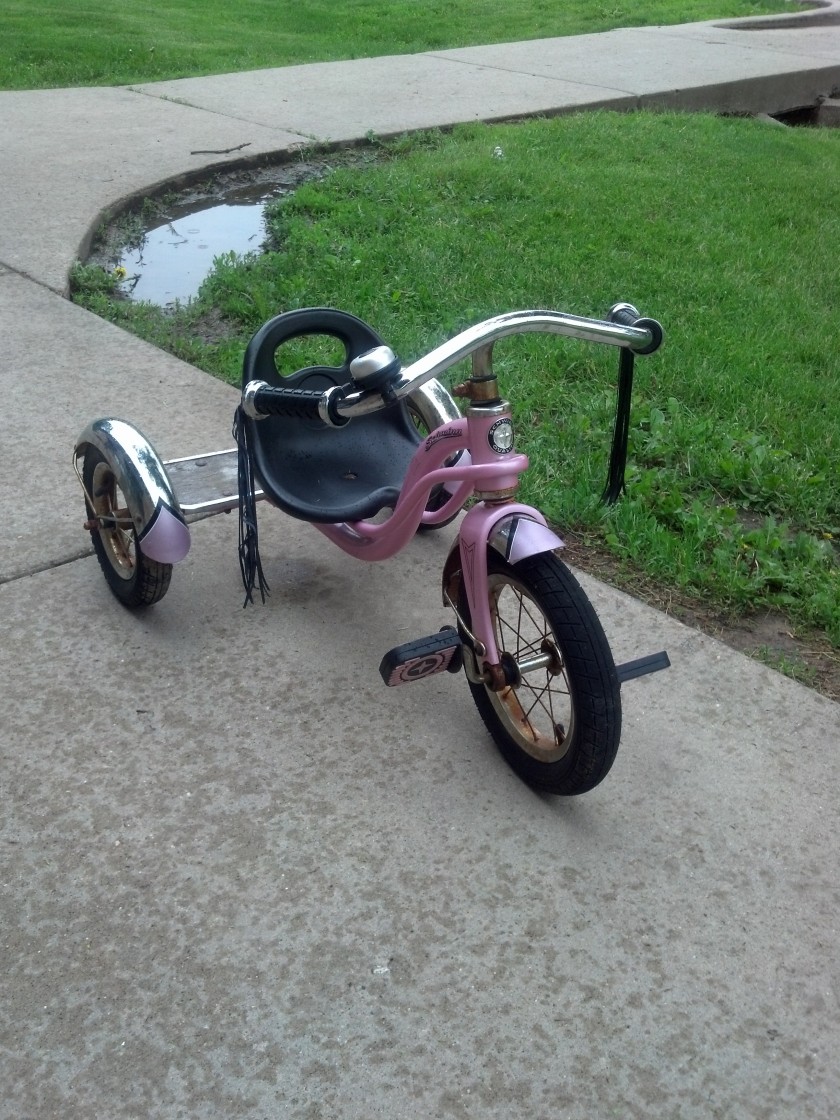
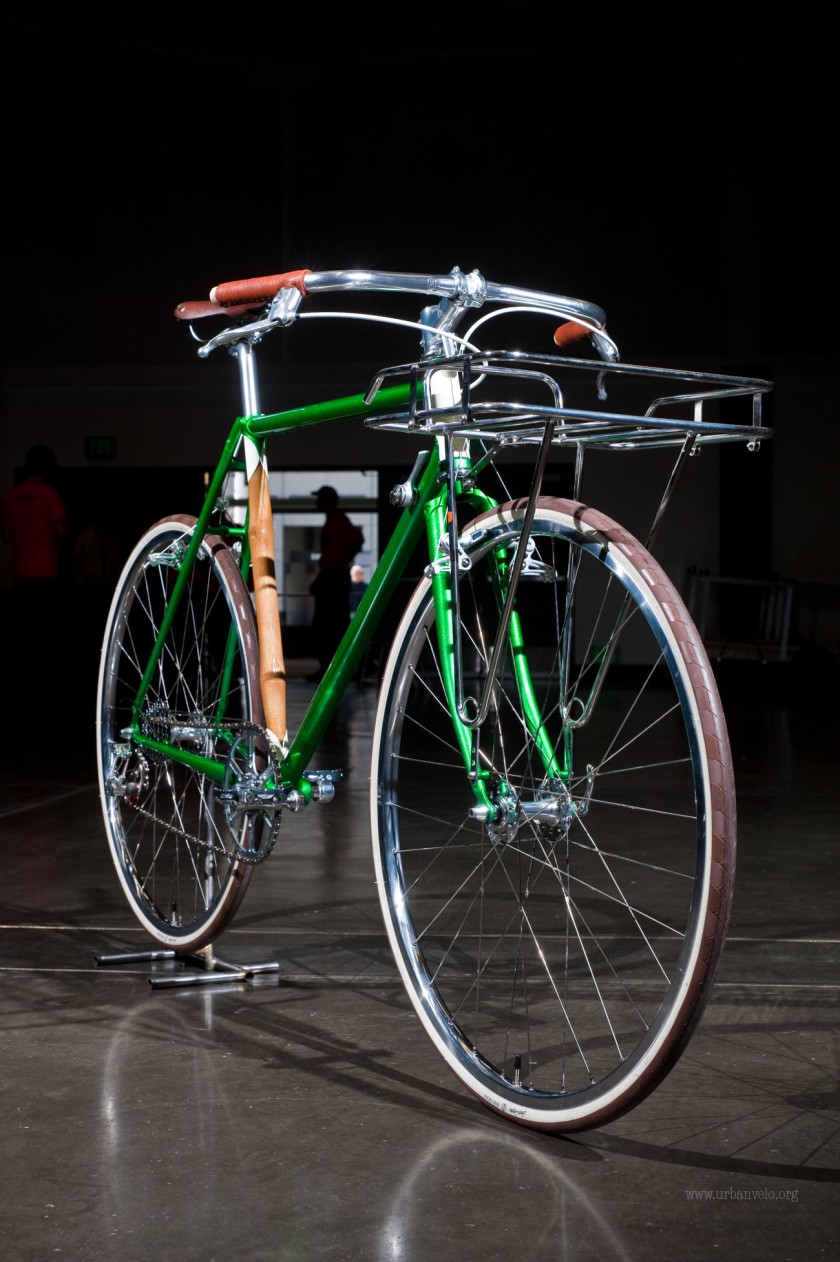
Then I saw this trike!
 I
I
I fell in love with this tricycle’s “aggressive,” upside-down installation. Some cool bike designer had the vision to flip the handlebars over because it looks cool. The result: the hands are both back and low, while creating a rakish, jaunty profile.
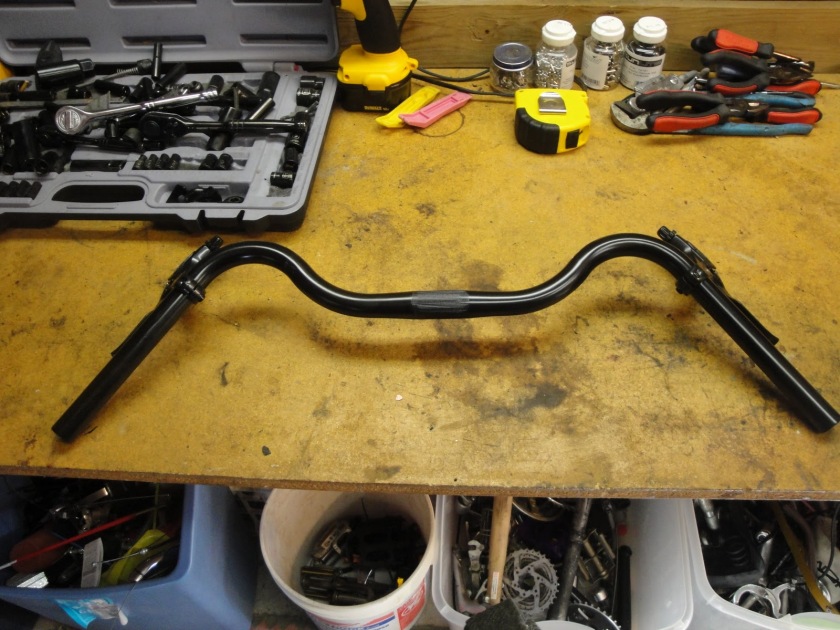
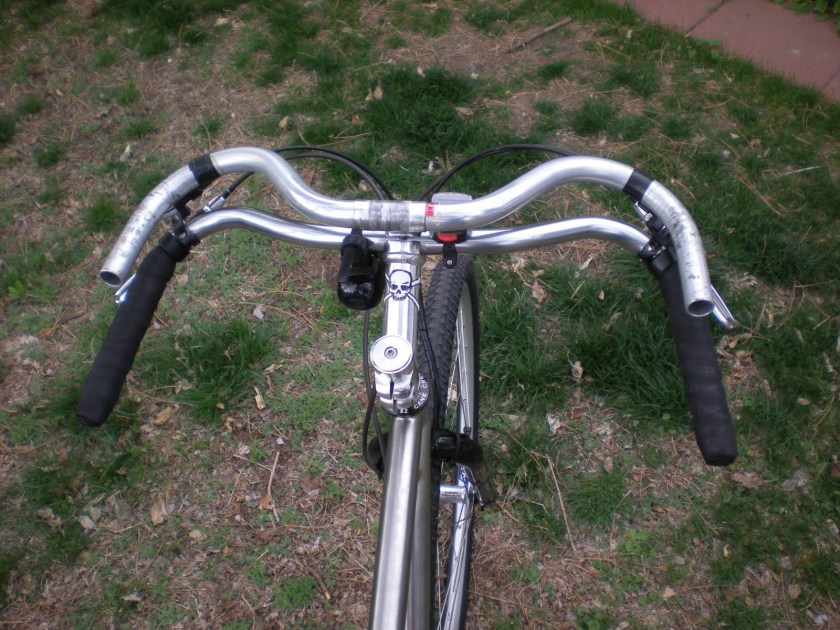
So I researched “swept back” bars, intending to install them upside-down. I found the sparrow style, first (below).

Swept back, for sure, they just weren’t back far enough, only about 30-40 degrees.
The Surly “Open” bars (below) were swept back more, 53-degrees.
The Velo Orange “Tourist” bars were getting closer, at about 60-degrees. Plus, installed upside down, the Tourist looks awfully slick (below).
I eventually settled on the Nitto “Albatross”, with an 85-degree sweep (below).
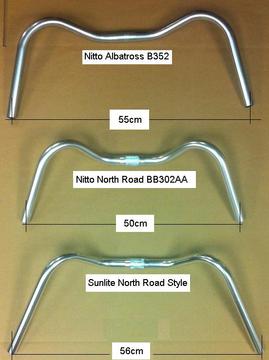
And, actually, the term I should be emphasizing here is not “sweep,” but rather “reach.” In this photo compare the reach of the Nitto Mustache (90 mm) vs. the Nitto Albatross (170 mm).
The longer the reach, the farther back your hand position, and the more upright you’ll be, taking more weight off of your hands.
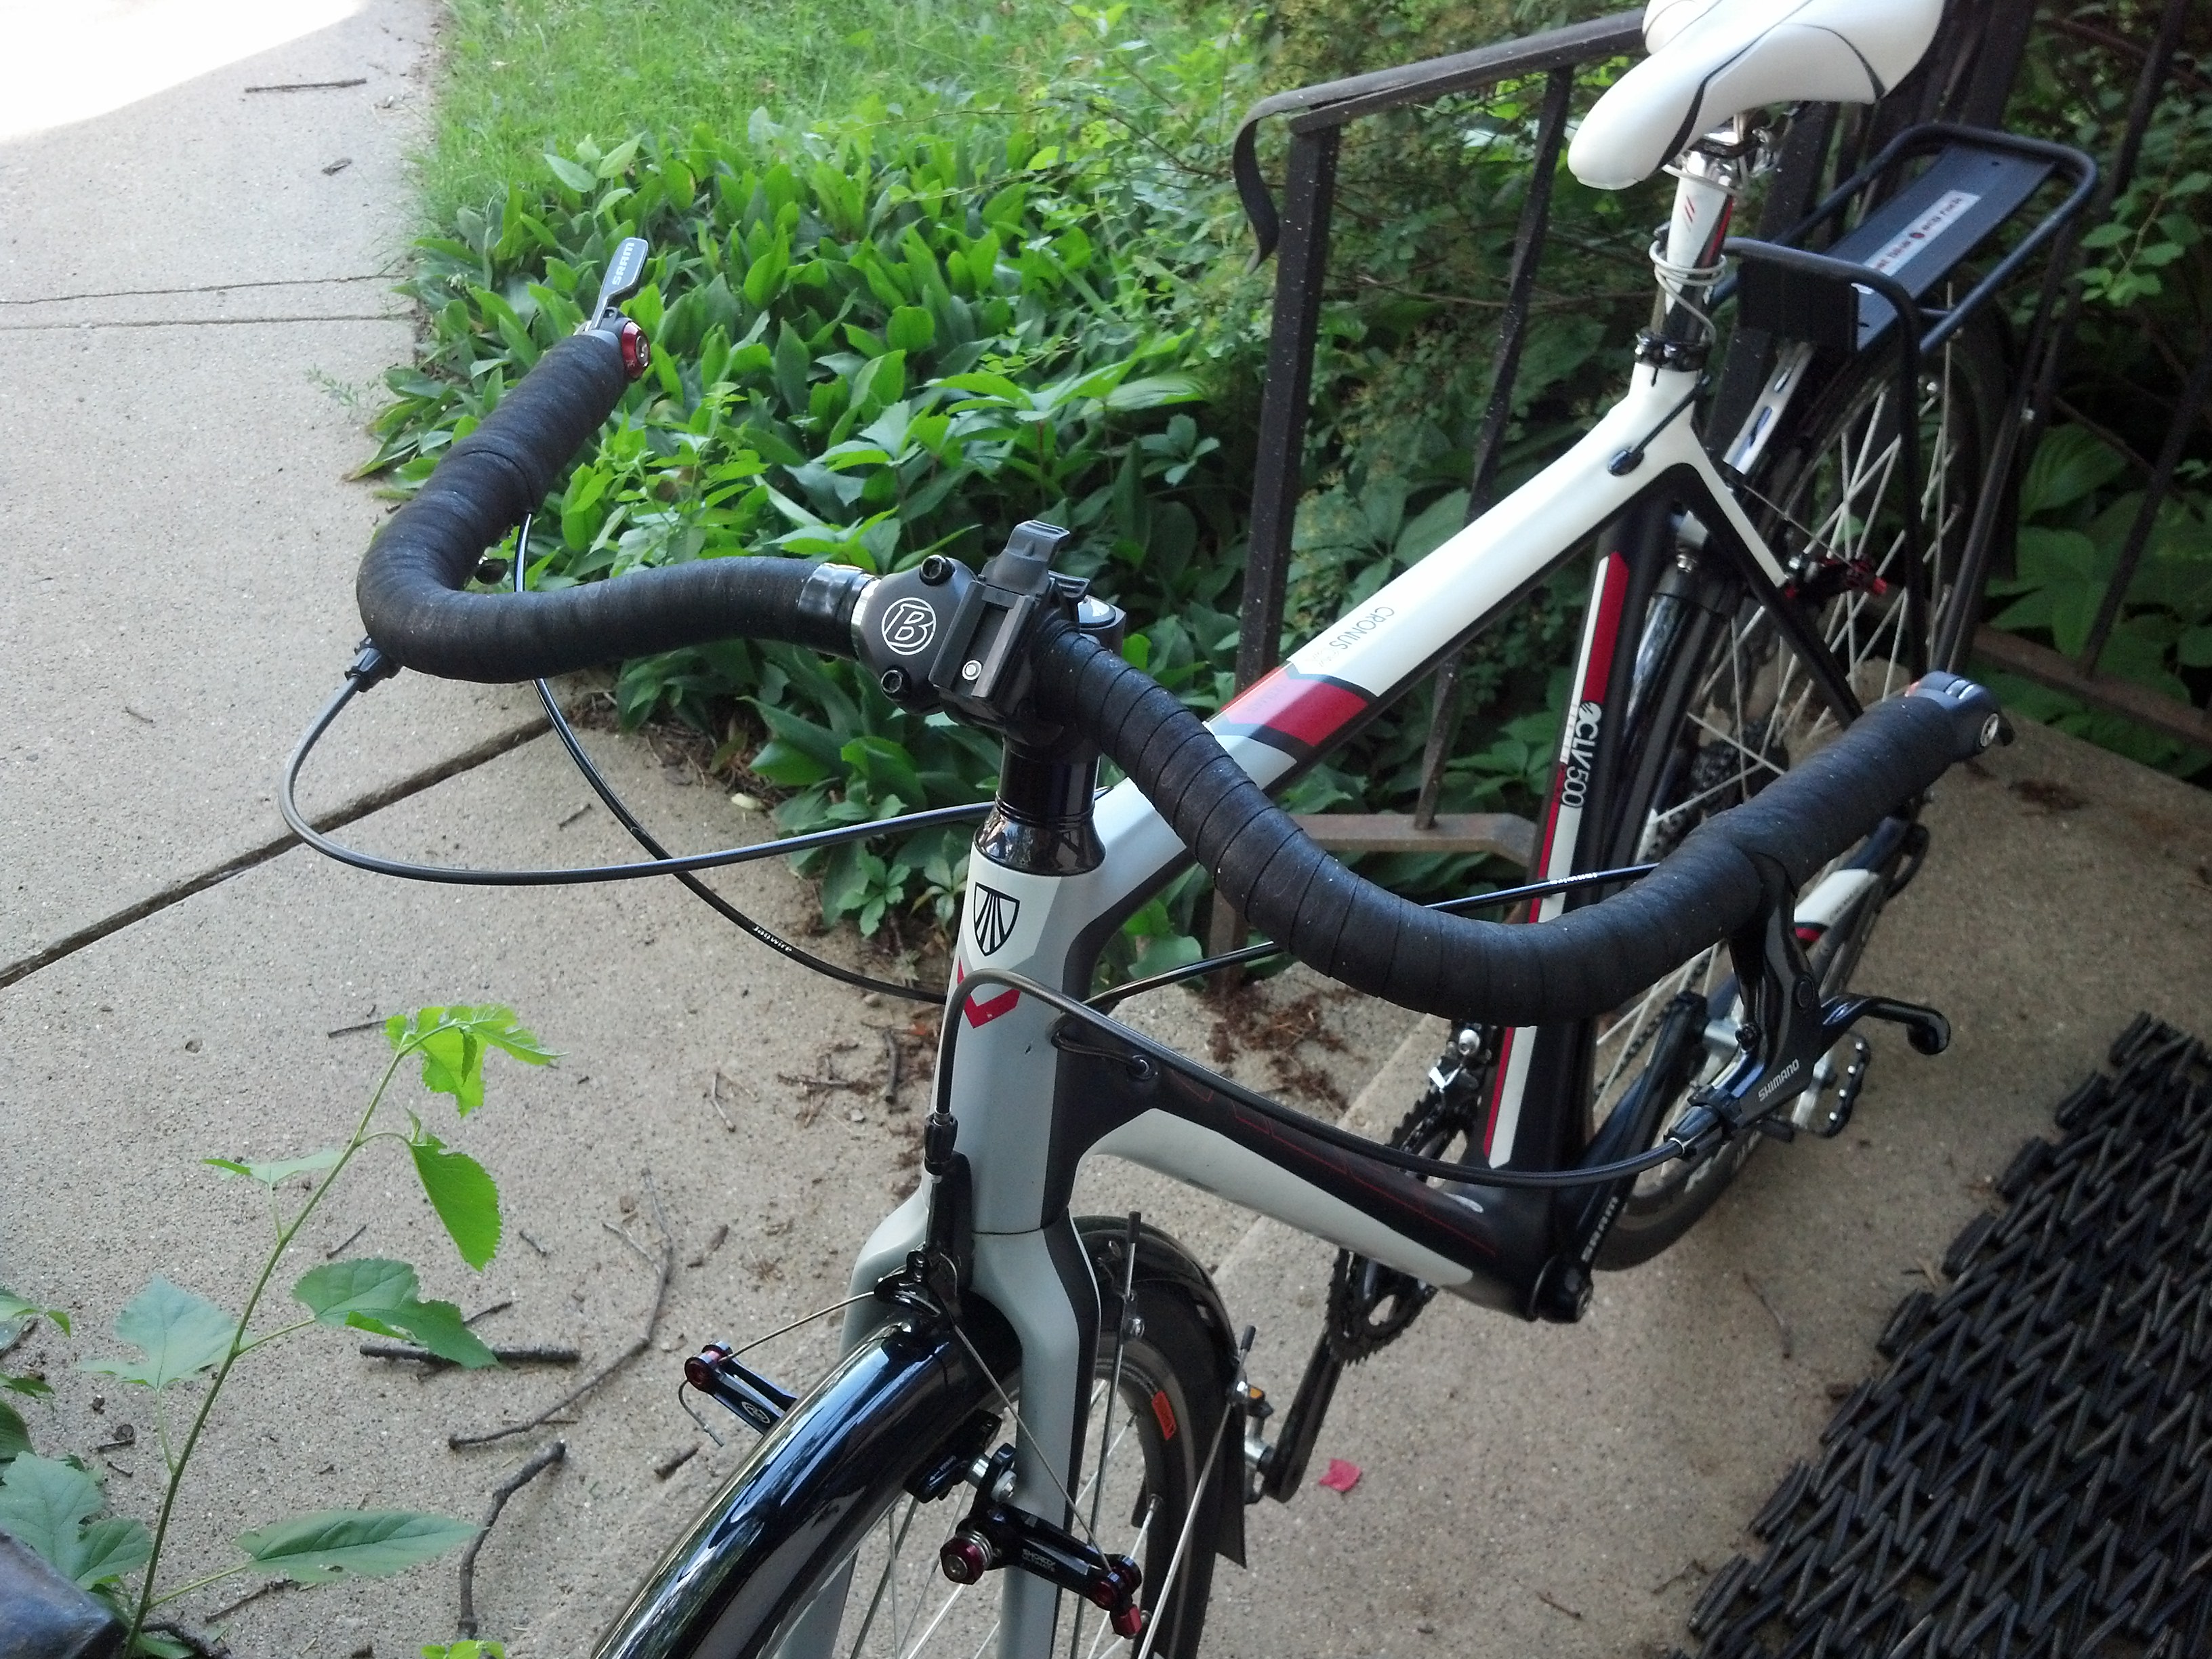
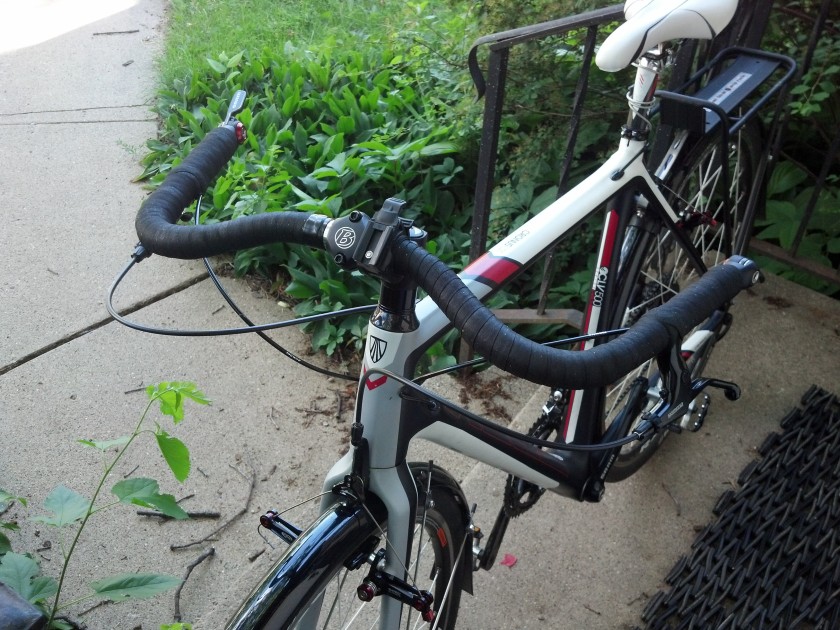
Here’s my cyclocross bike (below), with the Nitto Albatross installed upside-down. Pretty cool, huh! Neutral hand position. And my hands are back far enough to take 95% of the weight off.
I have since been undergoing serious physical therapy for the hand pain. But in the meantime I’m riding my bike with a lot more comfort. My Albatross bars are taped all the way across for three hand positions.
Technical Considerations
NOTE: Choosing handlebars is somewhat complex. The diameter of the tubing must fit your existing brake clamps and/or shifter clamps.
Diameter measurements are critical at two different places on the bars (three, if you want to go with bar-end shifters):
1) clamp diameter (where the stem clamps the bars)
2) tube diameter (where you want to install the brake levers).
Replacing drop bars? Unless it’s a vintage bike, the stem clamp diameter is either 25.4 mm, 26.0 mm (Italian std.), or the more recent “oversized” 31.8 mm. (See Sheldon Brown: http://sheldonbrown.com/harris/handlebars/index.html.) Given all these variables, you may or may not be able to keep your existing stem. But the stem is fairly inexpensive. You may want a new stem, anyway, for improved height or shorter reach. The point is to get you more upright and get the weight off your hands.
But test out your new swept back bars with your existing stem. Have the second, very different stem, picked out to compare the two. If it’s a “pop top” stem, it’s an easy switcheroo.
Tube diameter is the more expensive consideration. Going to a swept back bar may require you to replace your existing brake levers and shifters. In my case, I had to replace all of the above. The expensive bar-end shifters ($120), set me back nearly $400 for the complete customization. By the way, bar end shifters require an interior tube diameter of 20 mm.
Most swept-back bars come in 23.8 mm, which does not accept MTB brake levers. (MTB brake levers require 22.2 mm tubing; some mechanics claim you can simply “shim it”; don’t listen to them if you want your brake levers to remain positioned properly.) I really wanted two-finger style MTB brake levers, which would’ve been easier on my hands. But you can’t have everything. The next best thing for me was Shimano’s BL-R550 road break lever set (see my bike, above).
SECOND CAVEAT: some of these measurements might be off. Please confirm them with your LBS before ordering any parts. You can also check here: http://sheldonbrown.com/gloss_ha-i.html
Good luck!